Is there anything that says happiness like a whiff of healthy soul? Here at Winky’s Farm, I feel like my compost is my 7th pet. You feed it every evening, stir it every other week and it will give you all the love you can hope for! Petroleum companies will tell you that oil is black gold but any gardener knows that there is no black gold like a healthy hand of soil.
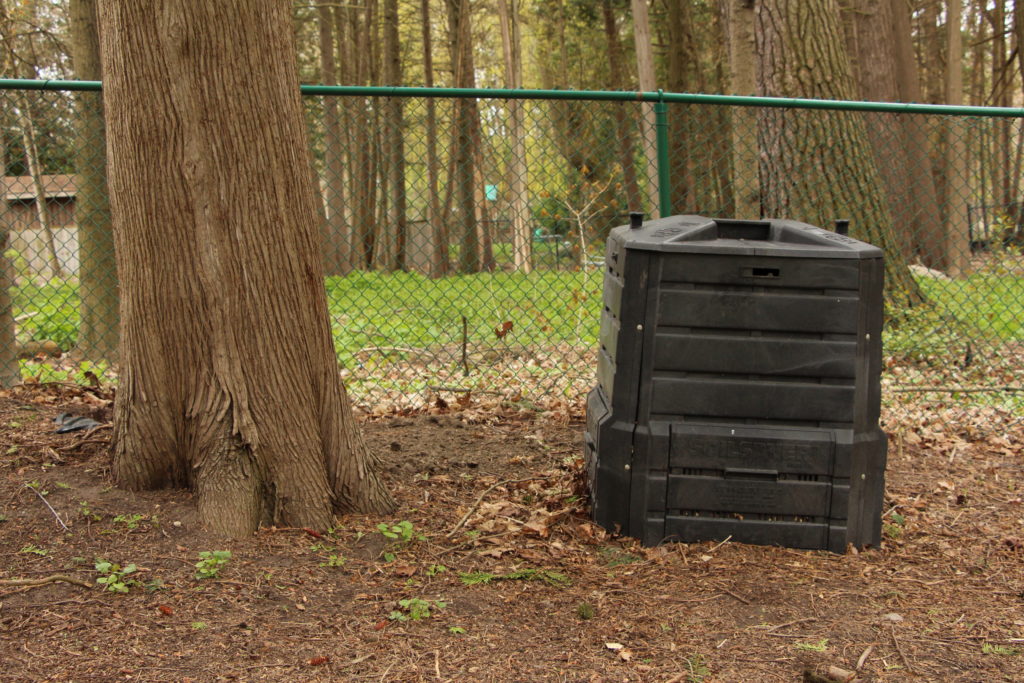
My first compost bin is a black plastic box with an open bottom and removable top. This one is great if you want to do some small scale composting and aren’t in need of great amounts of soil. Here are some general rules of thumb that I follow when composting;
- Do not put a layer thicker than 15 cm or 6 inches of the same organic matter. Your compost will need a healthy “diet” of many types of compost and you don’t want to suffocate it with all of the same thing.
- Stir your compost every 2 to 3 weeks. This will help prevent your compost from becoming a solid block and airate the soil so that healthy microbes can develop. You know you are doing something right when you stir and see steam coming off of the heap!
- Water your compost. I didn’t realize this until later (but it’s pretty obvious now I think about it) and it made a HUGE difference! I typically leave a wheelbarrow out every rainfall (since I currently don’t have a rain-barrel) and whatever is collected, I pour it in. If you have old soup that you want to get rid of, it works as well. Just make sure it is not too oily!
A lot of fancy compost videos will tell you about Nitrogen to Carbon ratios (1:3) but for a normal backyard gardener, it is not necessary to follow this exactly. Just remember to layer, layer, layer!
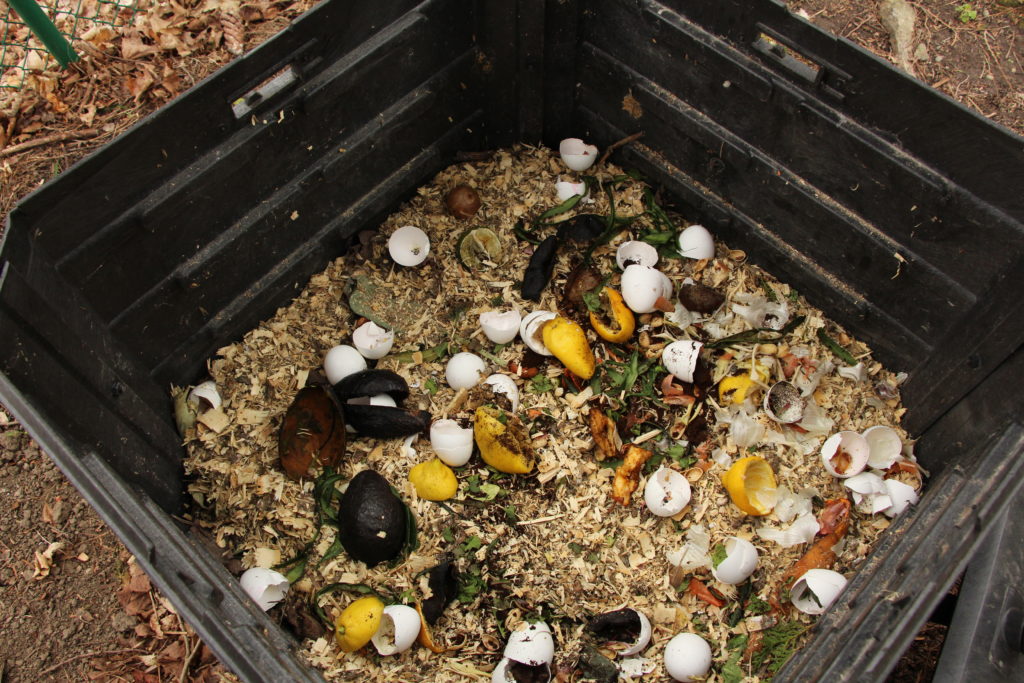
The top layer of my bin 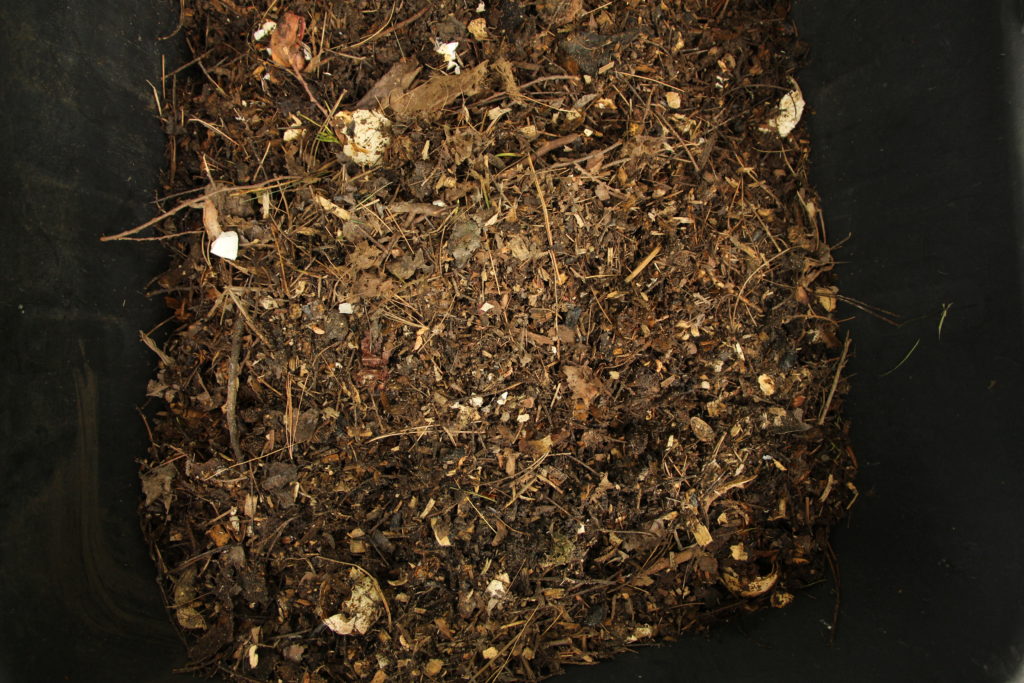
My compost after 4-5 months 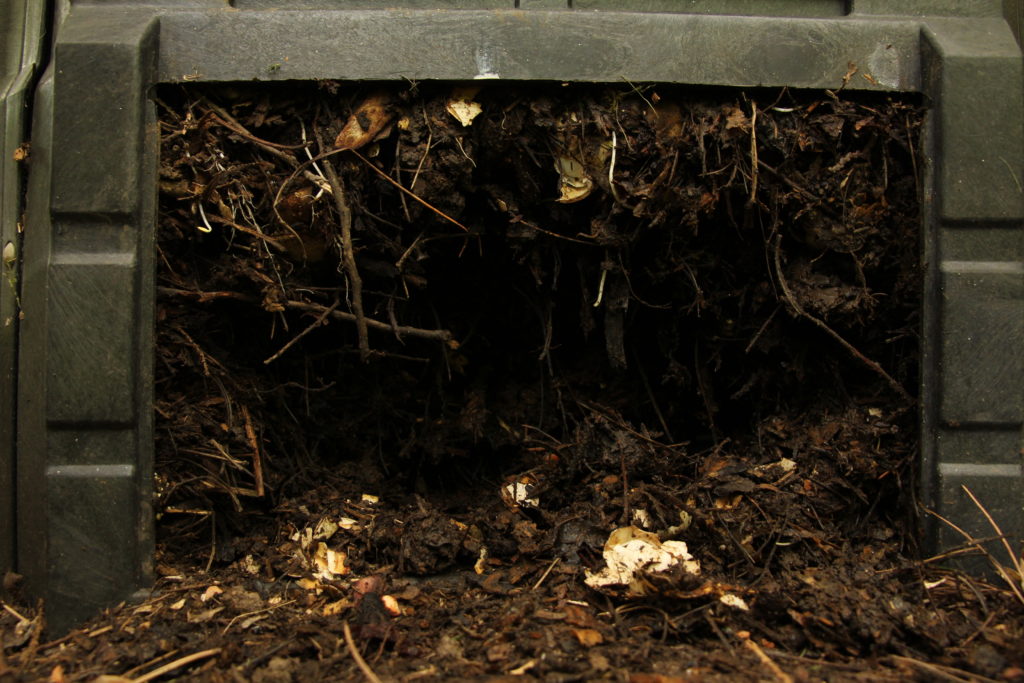
A removable bottom is really handy!
My next compost was made of recycled wood pallets and cost nothing! I stood the 3 pallets to form a sort of open stall and simply tied them together with some sturdy rope. With these sort of compost bins, there are a million things you can do to make them suited to your liking, but I just put it together in a single morning and wanted it to be functional.
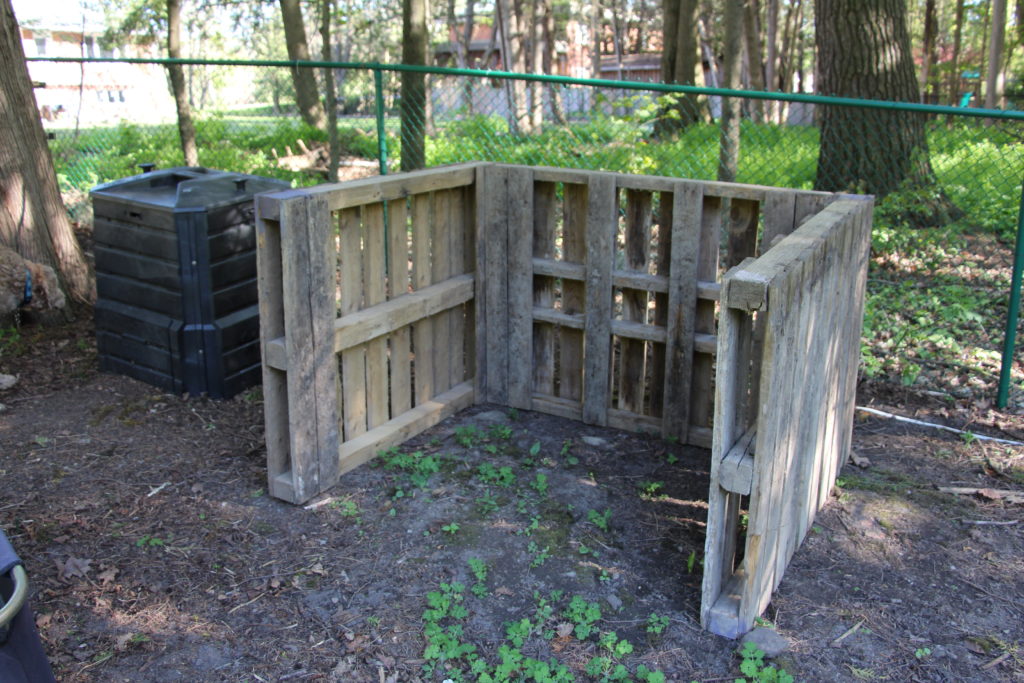
I made this as an add on to my first compost bin because I wanted a big space where I could store compost that was not ready to be used right away. After the period of stirring your compost, you want to let it sit and for nature do its thing. If you keep on adding stuff in and mixing it, you’ll never be able to harvest your nutrient rich soil to plant your garden in! So right now, my compost system goes a little something like this, I properly layer my organic material in the black compost bin and stir/water it as needed. When that bin is full, I stir it again before adding it to the compost made of wood pallets. This way, it can sit in a giant heap to decompose even further and is easily accessible when I need it.
Here are some of my favourite materials to put in the compost:
- Chicken manure/bedding
- Fallen leaves
- Veggie scraps/peels
- Wood ash
- Egg shells
The last composting method I will talk about it vermicomposting. This is basically when you have a bin full of worms. This method is very efficient and very rich. Unfortunately, this usually takes place indoors and my parents aren’t about to tolerate that anytime soon. However, I have done it at school and it is unbelievable how good the soil is.
Worms manage their own populations depending on space so you don’t have to worry about infestations and most of the moisture naturally comes from the food you put in. Note that you cannot put certain things like citrus in because it is not good for the worms. Worms bins are available to buy on amazon or you can just get a plastic tupperware and begin!